How to test exterior colors in real light
Screens and tiny swatches cannot tell the whole story. Use this simple process before choosing a final exterior finish.
Exterior color covers a large surface and lives beside materials you may not be changing. That is why a color that looks perfect on a screen can feel unexpectedly cool, bright, or flat on your own home. Sampling is the bridge between a design proposal and the final decision.
Begin with a small, focused shortlist. Too many nearly identical options make differences harder to see. Identify the fixed elements first: roof, brick, stone, paving, and any windows that will remain. Each paint sample must work with those surfaces.
Make the sample large enough
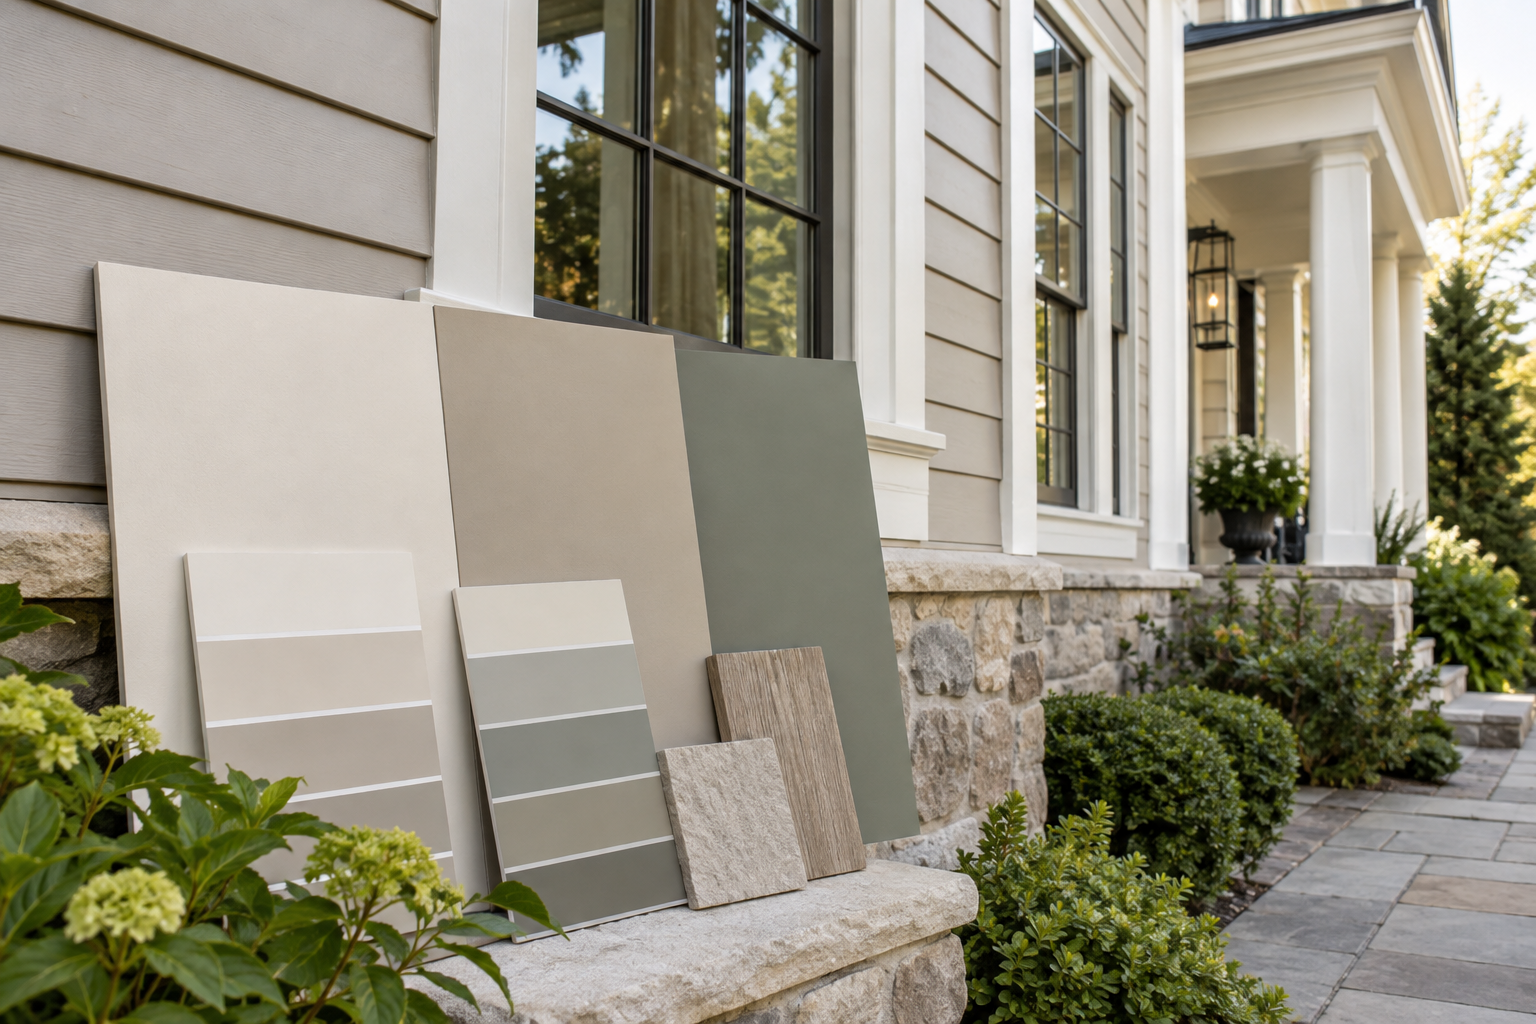
Use generous painted boards or approved test areas rather than judging only from a paper chip. Place them vertically on the actual exterior. Look at each color beside trim and near fixed materials, but leave a little separation between samples so one does not distort your impression of another.
If you are sampling on the wall, follow the paint manufacturer's preparation guidance and ask your contractor how the test areas will be covered. Texture, primer, sheen, and the number of coats can all affect the final appearance.
Return at different times
View the samples in morning light, around midday, and later in the day. Step back to the curb as well as looking up close. Notice how a warm white behaves in shade, how a dark trim color outlines the windows, and whether the main color still works beside the roof when the sun is low.
Cloudy light is useful too. It can reveal undertones that bright sun softens. Take photos for reference, but make the final judgment in person because screens change both brightness and color.
Confirm the full finish system
Once the palette feels right, confirm the exact product, finish, surface preparation, and application method with the painter or supplier. A design may name a color, but the correct coating for stucco, siding, masonry, or trim depends on the substrate and its condition. Keep the final sample and product details together so everyone works from the same decision.
Label each sample with its surface and intended sheen, then photograph it from the street and close to the roof or masonry. Keep a simple record of how it looks in morning light, afternoon light and shade; a small screen preview cannot settle those differences.
Organize samples, measurements and repainting decisions with The Complete Exterior Paint Planning Workbook.
Once the sample behavior is clear, choose a complete exterior color direction instead of judging the wall color in isolation.